Alpenglow Industries
Check out below for step-by-step instructions on how to use the kit to make your own Big Red Button Box.
Want to 3D print a plastic one? We have files shared on Thingiverse.
This kit makes it easy to add a Big Red Button to any project!
Already have an account? Log in.
To make the experience fit your profile, pick a username and tell us what interests you.
Check out below for step-by-step instructions on how to use the kit to make your own Big Red Button Box.
Want to 3D print a plastic one? We have files shared on Thingiverse.
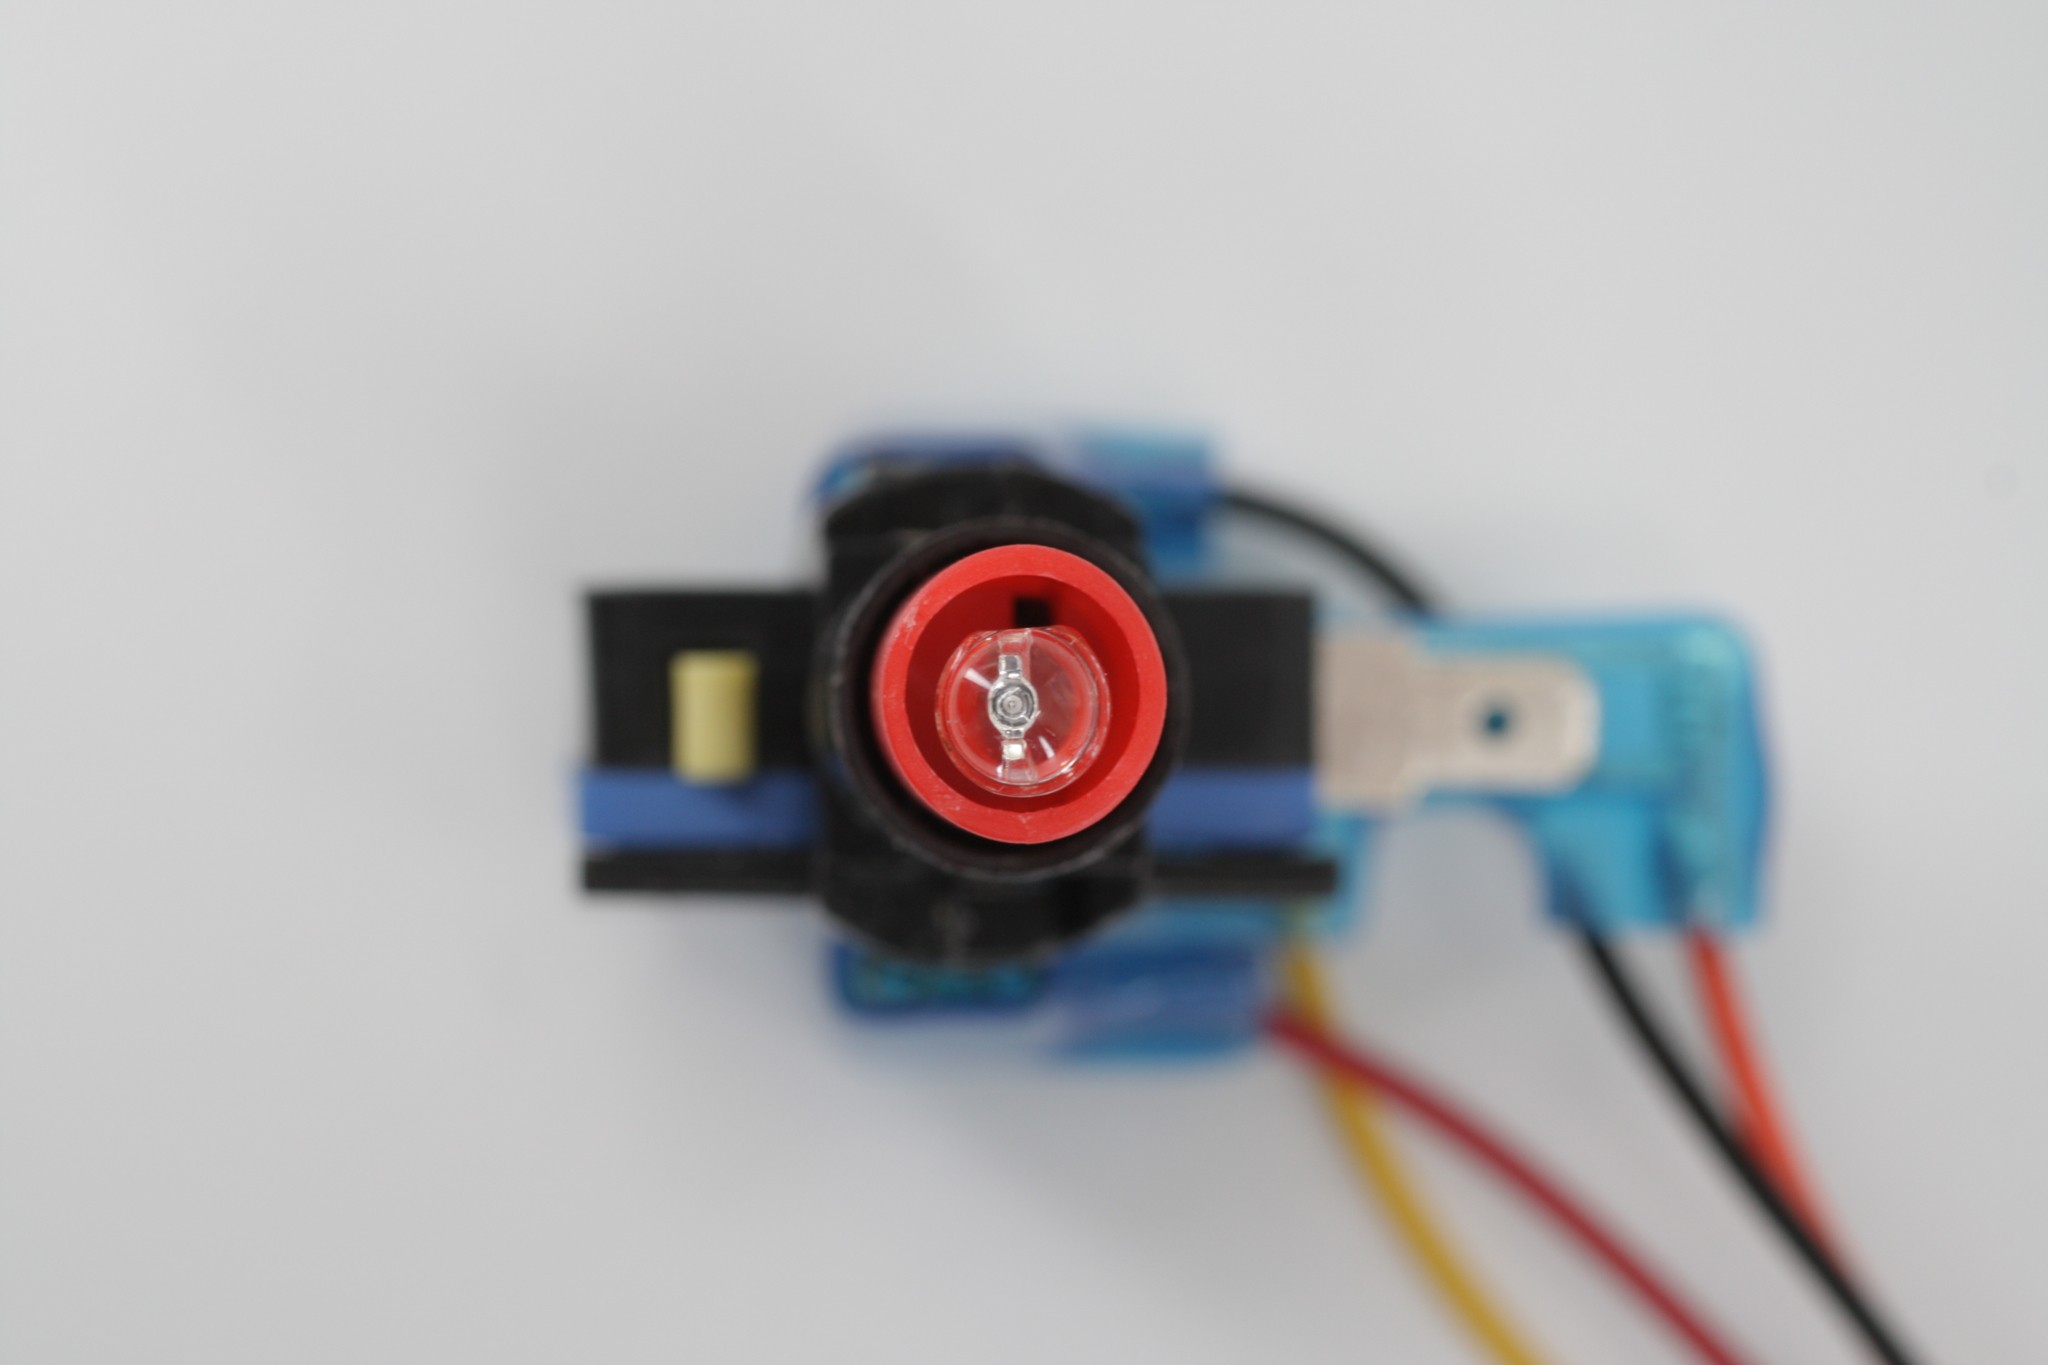
We find it easiest to insert the post nearest the LED into the corresponding hole on the switch first, then pull out the other tab while swinging the switch around and snapping it into place.
The larger ones (0.250”) attach to the LED blades, the smaller ones (0.187”) attach to the switchblades. Note that COM is the blade on the bottom of the switch, and you can choose whether to attach the second one to either NO (normally open) or NC(normally closed).
*Make a note of which leg the flat side/cathode of the LED is contacting. You’ll need to know this later when connecting the button to your project.


 saadcaffeine
 Martin W. Kirst