 cricut design space
Hi! Lovely crafters. I have been waiting to write this blog for many days after designing a custom label for my daughter’s school assignment. It was fun making it. And most importantly, my daughter loved it. So, I thought, why not share my way of creating labels with a Cricut Explore machine?
Well, you all are here to learn how to make labels with Cricut. I am ready to share all the important points with you all. Let’s dive into this beautiful project that you can make any time.
Supplies and Tools Needed for Creating Cricut Labels
This is the important part. You should get ready with all the things I am mentioning in the list below.
- Your Cricut machine (I am using a Cricut Explore)
- Cutting mat
- Premium vinyl
- Transfer tape
- Weeding tool
- Scraper
Finally, you are set with your supplies. Now, let’s check out the final steps for creating a label.
How to Make Labels With Cricut Explore Machine?
Now, it’s time to learn the process for creating a label with your Cricut machine. Here are the step-by-step instructions on making the best labels.
Step 1: Make a Design in the Cricut Software
To get started, you’ll need to create a design in the Cricut Design Space. You must be already familiar with Design Space, and while making labels you have plenty of options to select your font, size of font, and everything else that is needed to make a proper label. And, you can also make labels in multiple sizes that fit your place.
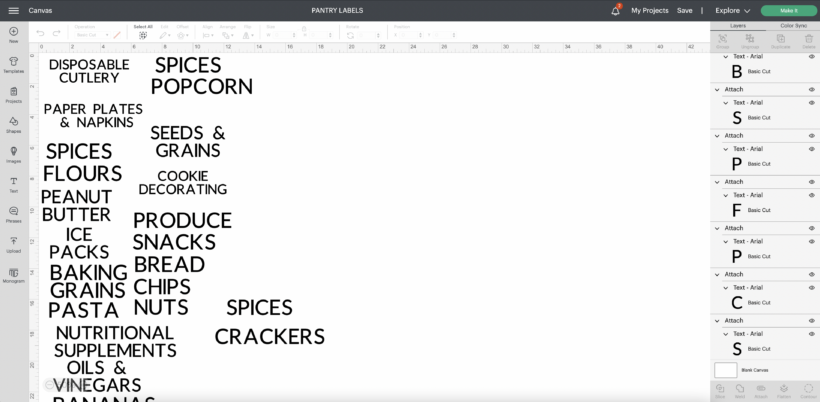
You first need to be clear about the purpose of your label, where you are going to put it on. For instance, I created the labels for a basket for my daughter. What’s your use? Select the size accordingly.
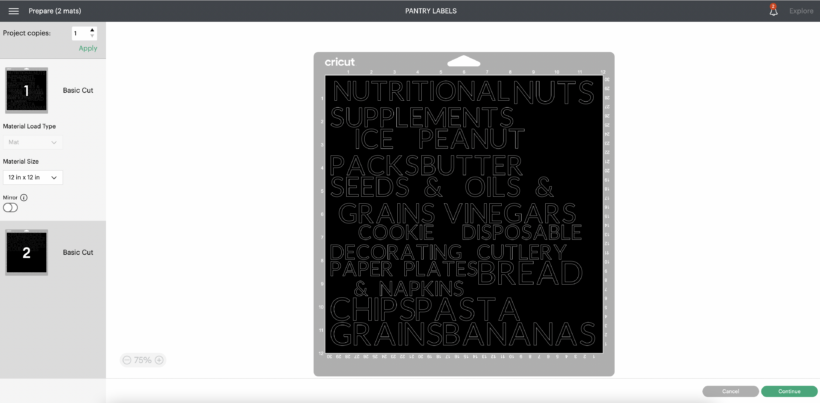
Step 2: Allow Your Cricut Machine to Cut Labels
When you are done with the labels, don’t wait to cut them down with your Cricut cutting machine. After that, hit the Make It button to let the machine cut your design effectively. As you are using premium vinyl, you’ll get the best cut with the machine.
Step 3: Remove the Excess Vinyl
When you are ready with your final cut, it’s time to weed off the excess vinyl from the design. This step is really important to keep the design precise and avoid overlapping of letters. Here, Cricut’s weeding tool can save you.
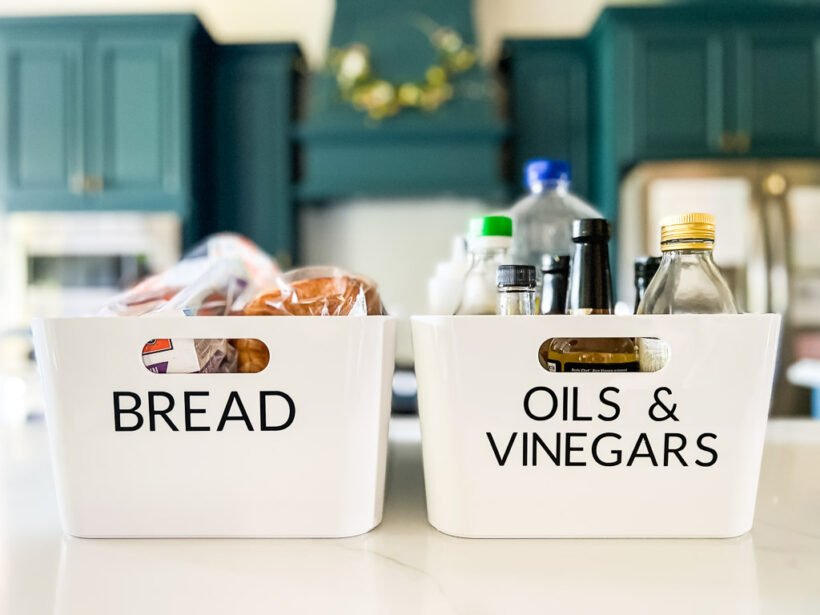
Step 4: Apply Labels to the Surface
Finally, you know how to make labels with Cricut Explore. And now, it’s time to learn how to transfer it on the surface. Basically, you need to apply tape on your label’s sheet. Next, smooth down the surface with a scraper tool. This step will stick your vinyl designs well to the tape.
Now, cut down the label pieces. Then, you have all the label pieces with transfer tape on them. These tapes have a significant role in transferring the design.
So, how do you transfer the final design? To start, select a label and place it on the area you want it to stick. Also, remove the backing paper from the label. Your label will transfer to the surface. Use the scraper tool again to smooth out the final design. Finally, peel off your transfer tape to leave only the vinyl design.
Conclusion
Wasn’t it fun learning how to make labels with Cricut? I hope you all enjoyed the process. Moreover, the supplies are minimal to get started. With no complex procedure, you can make any label with your Cricut cutting machine. I like making such small things for my office. If you’re also a working person and want to create a label for your name to put it on your desk, go for it.
FAQs
How to Make Name Labels With Cricut?
To make a name label with Cricut, all you need to do is use your Cricut Design Space to create any text you want. Use your name or the name of anyone you want to create a label for. Then, cut it with your Cricut machine and stick transfer paper on it. Now, transfer the design to your surface, remove the backing of the transfer tape, and peel off the transfer tape to leave the final design.
What Do You Need to Make a Label With Cricut Explore?
To get started making a label with Cricut Explore, you will need these things:
● Cricut cutting machine
● Cutting mat
● Transfer tape
● Cricut’s vinyl
● Weeding tool
● Scraper tool
● Label design
How to Make Labels With Cricut Print and Cut?
The process for making labels with the Print then Cut feature is simple. To do this, you must have a printer to print the image you want to make a label of. In this process, you’ll make a design using the Cricut Design Space and will print it with your printer and then cut it with the Cricut machine. Lastly, you can easily transfer your design on its place using a transfer tape.
Visit: install cricut design space app
Source: https://mannyexplore.com/cricut-design/how-to-make-labels-with-cricut-explore-for-office
Discussions
Become a Hackaday.io Member
Create an account to leave a comment. Already have an account? Log In.